Research editor: Nicholas Bauer, Founder & Research Editor · Updated October 16, 2026
The quick answer
Find where the water starts before replacing the rack. Check the tray, spout position, sink lip and nearby splashes, then clean the approved drain components. A drainage feature works only when the rack is assembled and positioned as intended.
Separate a drainage mismatch from a cleaning problem.
Swipe or scroll sideways to see every column on a small screen.
| What you observe | Likely next check | Useful next action |
|---|---|---|
| Water stays inside a tray with no outlet | Is the tray designed to collect water? | Empty it as instructed. Cleaning will not turn a collection tray into a self-draining rack. |
| The spout ends over the counter | Does the intended spout position actually reach inside the basin? | Reposition using the maker’s approved configuration. If it still cannot reach, measure a different location or rack. |
| Water reaches the spout but backs up | Is a removable channel obstructed, or is the assembly incorrect? | Clean and reassemble only the removable parts identified in the instructions, then observe one normal small load. |
| The area gets wet when the rack is unused | Could it be a faucet splash, dispenser drip or plumbing leak? | Dry the area and watch the next ordinary sink use. Address that source before changing the rack. |
Two real designs, two different routines
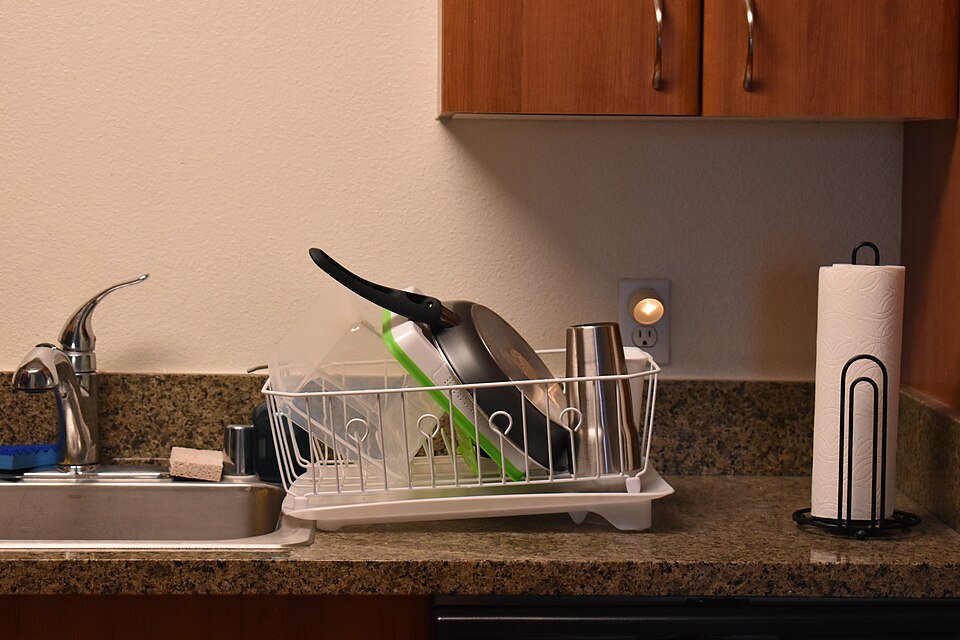
OXO Good Grips Dish Rack, SKU 1440480: the brand lists 13.75 × 10.5 × 3.5 in, raised ribs and corners for pouring out water. It is marked dishwasher safe. This is a collection-and-emptying design; do not expect a drain spout that the product does not have.
Simplehuman Steel Frame Dishrack: the brand describes a swivel spout and a central drain that unscrews for cleaning. Its current care FAQ advises against putting parts in a dishwasher unless the particular part is explicitly labeled dishwasher safe. Keep the spout aimed into the sink and follow the instructions for your version.
Manufacturer details checked October 16, 2026: OXO 1440480 and Simplehuman Steel Frame Dishrack.
When comparing a replacement, sketch the distance from the rack’s nearest possible edge to the inside of the basin. Include the sink rim. For a rack that bridges the sink instead, use the over-sink measuring guide.
Trace one source at a time
Clear the rack and dry the area so old puddles do not hide the next drip. Inspect accessible components using the product instructions. Look for water beneath the rack, around the spout or behind nearby soap bottles.
If a faucet or supply connection is leaking, that is a separate repair problem. Do not keep adding absorbent mats around an active plumbing leak.
Use the location as a clue
| Where water collects | What to inspect |
|---|---|
| At the end of the drain spout | Whether it reaches into the intended sink area. |
| Under the tray | Assembly, damage and water trapped beneath it. |
| Behind the rack | Faucet splashes, wet utensils or a nearby dispenser. |
| Inside an otherwise clean tray | Whether the design collects water for manual emptying rather than self-draining. |
Collection and drainage are different designs
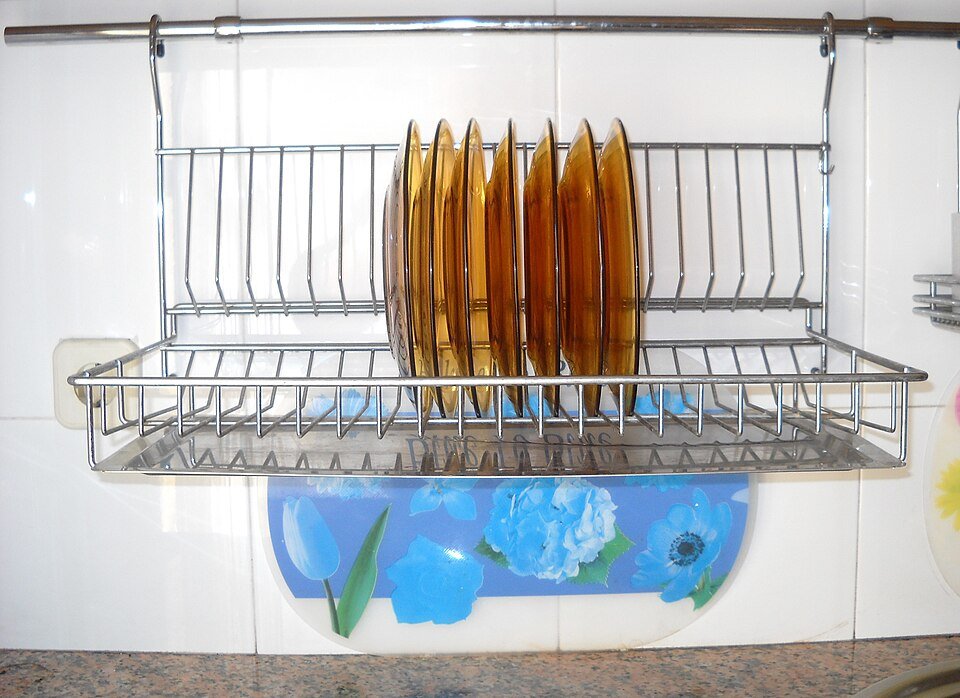
OXO’s cited dish rack has corners intended for pouring out excess water. Simplehuman’s steel-frame model instead uses a swivel spout directed toward the sink. Do not expect a collection tray to behave like a plumbed drain, or assume a spout can discharge uphill over any sink rim.
Check the installation geometry
Look at the sink lip and the path water must take. A rack that fits beside the sink can still have a spout that stops over the counter. Include that distance when choosing a replacement.
Use the manufacturer’s adjustable features where provided. Do not create a steep slope by balancing feet on loose objects; the result can make dishes unstable. If the approved configuration cannot reach the basin, choose another position or design.
Clean what you can actually remove
Follow the instructions for the tray and drain channel. Do not assume every part is dishwasher-safe because the rack holds wet dishes all day. A coating, plastic insert or joint may need handwashing.
Reassemble the rack correctly and check the water path during an ordinary small load. Changing its position, adding a mat and altering the spout all at once can make it harder to tell which issue was responsible.
Before buying a new rack
Write down the clear counter footprint, sink-lip height, distance to the basin and preferred drainage direction. Compare those measurements with the product’s complete dimensions and instructions. A larger rack with an attractive finish is not an upgrade if it repeats the same drainage mismatch.
If the current rack simply needs regular emptying and that routine suits you, replacement may be unnecessary. The goal is a dry, usable work area rather than a particular style of accessory.
Common questions
Should I tilt the rack with blocks?
Use only the maker’s intended adjustments. Loose shims can make loaded dishes unstable.
Does every dish rack drain by itself?
No. Some collect water that must be emptied; others have a directed spout.
Sources & scope
The linked guidance supports product and care facts; the layouts and worked examples are our practical suggestions. Match the exact item and current instructions. We have not performed durability or cleaning tests on these products.