Research editor: Nicholas Bauer, Founder & Research Editor · Updated October 16, 2026
The quick answer
Measure the sink opening and the actual surfaces that will support the rack. Then check the rack’s required support, faucet movement, loaded height and weight limit. A sink’s advertised width is not enough to confirm an over-sink rack will fit safely.
First distinguish two rack designs
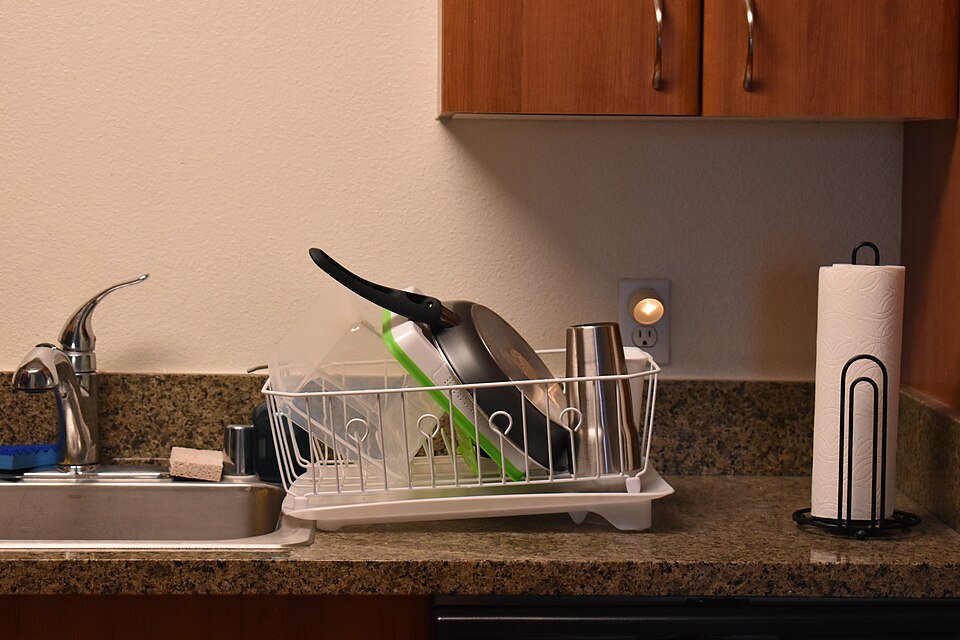
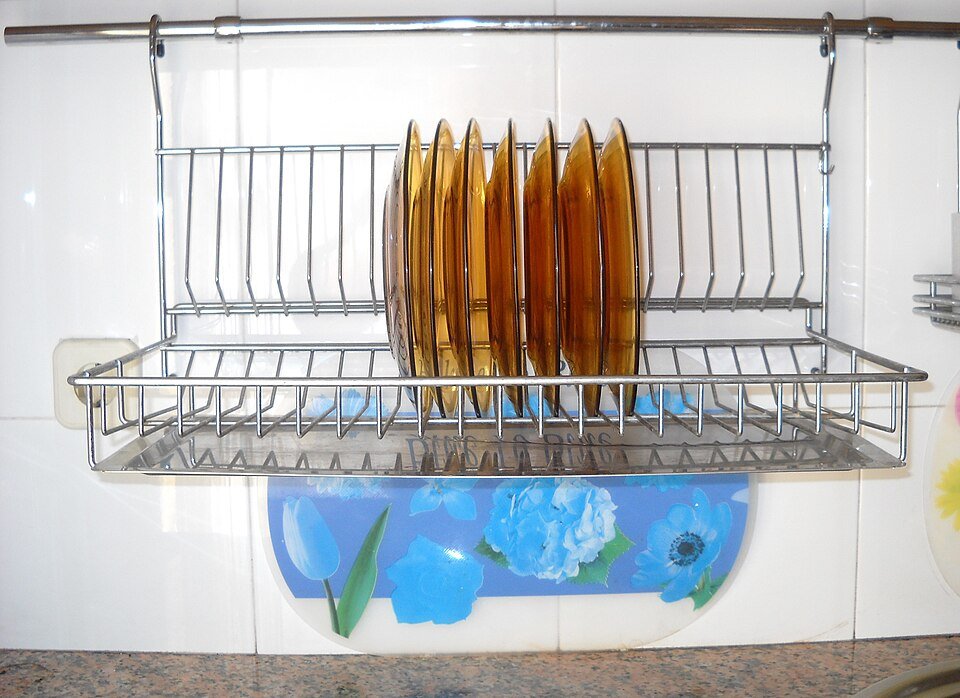
A flat rack bridges an opening and sits on support at each end. A tall over-sink organizer usually stands on feet beside or behind the basin. Their measurements are different. Do not compare only the width across the dishes in a product photo.
Use this fit worksheet
| Measurement | What to record |
|---|---|
| Opening to span | The clear gap along the direction the rack will bridge. |
| Supporting surfaces | Width, shape and level contact at both ends, or all feet. |
| Faucet envelope | Height and full movement of spout, handles and pull-out hose. |
| Loaded height | Rack plus the tallest plate, bottle or glass you intend to place on it. |
| Access route | Room to wash, reach the drain and remove the rack. |
Calculate the overlap for a flat rack.
Enter the rack’s length in the direction it bridges the sink and the clear opening in that same direction. Use the same unit for both numbers. This assumes a centered rack with equal overlap at each end; it does not check the ledge width, contact shape, load limit or manufacturer’s required support.
Your entries remain in this browser. This arithmetic is for flat bridging racks, not freestanding organizers with feet around the sink.
A worked example, not a safety allowance
Suppose a flat rack is 20.5 inches long and the gap you want to bridge is 19 inches. Subtracting leaves 1.5 inches total, or 0.75 inch at each end if centered. That arithmetic describes overlap; it does not prove the product allows that support arrangement.
Kraus lists the KRM-10 at 20.5 by 12.75 inches. Its specification is a useful example of overall size, but you must still match the intended installation and support to your sink. Do not infer a universal minimum overlap from this calculation.
Test the movements before ordering
- Use a paper outline to represent the rack footprint.
- Turn the faucet and handles through their normal range.
- Imagine the largest dish in place, including any handle.
- Check whether the remaining sink area is enough to rinse another item.
- Open the nearby window or cabinet where applicable.
This is a planning rehearsal with lightweight materials, not a load test. Do not place cookware on an improvised paper or cardboard bridge.
Capacity is conditional
A published load rating applies to the maker's intended setup, not every span or uneven ledge. Use the stated limit and installation directions together. Avoid balancing a rack on a faucet fixture, a loose board or a narrow improvised spacer.
Know when another layout is easier
If the rack covers the only usable washing area, it may trade counter clutter for a blocked sink. A small rack beside the basin or a temporary mat can be more convenient. Choose the arrangement that lets you complete the next step, not simply the one that places dishes above empty space.
Common questions
Can I use the sink’s advertised cabinet size?
No. Measure the actual opening and support surfaces where the rack will sit.
Does positive overlap prove a fit?
No. It is only geometry; the rack’s support and installation requirements still apply.
Sources & scope
The linked guidance supports product and care facts; the layouts and worked examples are our practical suggestions. Match the exact item and current instructions. We have not performed durability or cleaning tests on these products.