Research editor: Nicholas Bauer, Founder & Research Editor · Research checked October 6, 2026
The quick answer
Clean a dish rack according to its exact material and parts instructions. Do not assume all racks or removable trays can go in the dishwasher. Simplehuman advises checking explicit dishwasher permission and avoiding harsh chemicals or abrasives that can damage its coating.
Read the rack as an assembly
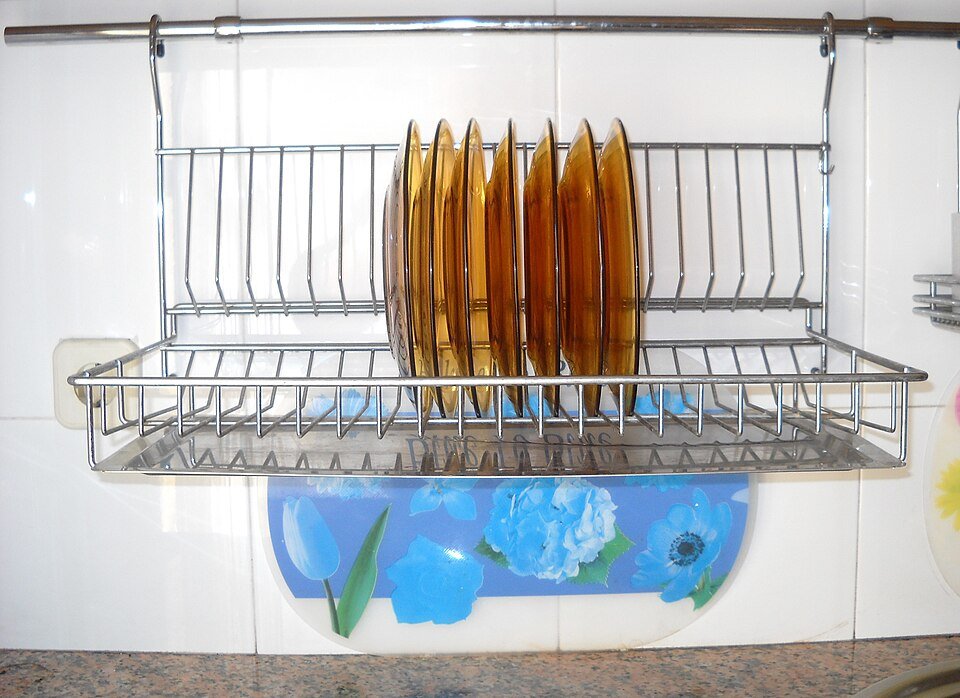
List the wire frame, drain tray, utensil cup, feet and spout. A product may allow one part in the dishwasher and require another to be cleaned by hand. Save the model number before replacement parts or care instructions become difficult to identify.
Simplehuman’s current steel-frame rack guidance generally discourages putting parts in the dishwasher unless specifically labeled, and gives its own cleaning advice. OXO’s cited plastic dish rack is explicitly dishwasher-safe. Neither statement applies to every rack sold by either brand.
A controlled cleaning sequence
- Remove the dishes and make space for the components.
- Separate only the parts designed to come off.
- Use the approved cleaner and tool for each material.
- Rinse and dry as directed, including hidden tray surfaces.
- Reassemble before returning dishes to the rack.
Take a photograph before disassembly if the spout or feet have a particular orientation. Do not force a stuck clip with a sharp tool merely because another model’s tray pops out.
Identify what you are trying to remove
| Observation | Useful response |
|---|---|
| Loose food or soap residue | Use the ordinary cleaning routine. |
| A stubborn pale deposit | Check the maker’s deposit-removal advice and surface compatibility. |
| Flaking coating or exposed damage | Ask about repair or replacement rather than treating it as dirt. |
| Broken feet or a cracked tray | Resolve stability or leakage before loading dishes again. |
Avoid the stronger-cleaner spiral
A product intended for a sink, oven or bathroom may not be suitable for the rack’s coating. Follow the rack and cleaner labels together. Do not combine cleaners, or assume a familiar household product is harmless on every finish.
If an approved method does not resolve the mark, contact the maker with a clear photograph and the model. Repeated abrasion can change the surface without fixing the original problem.
Make future cleaning accessible
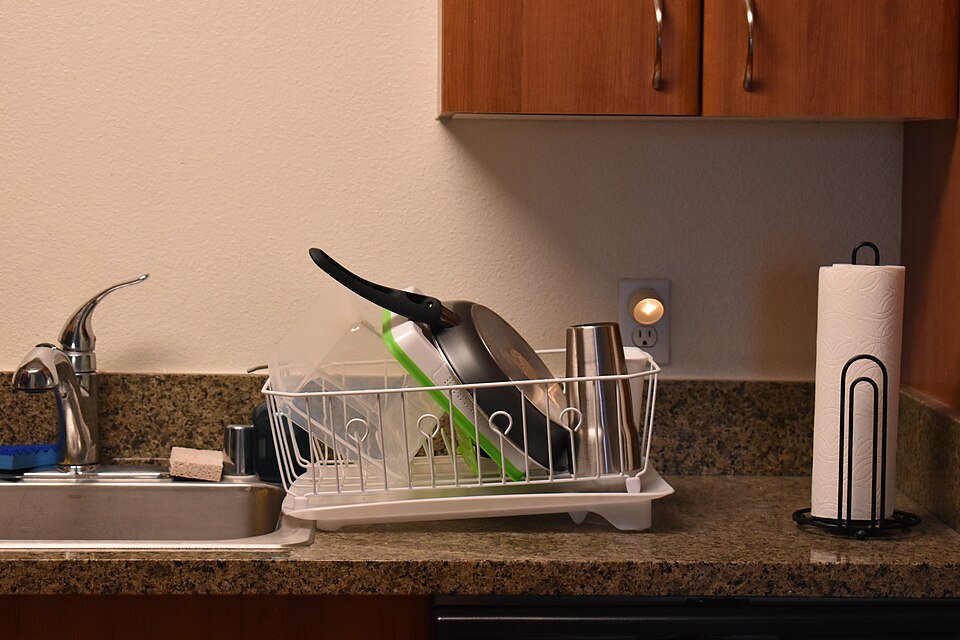
Leave enough room to lift out the tray and reach the counter beneath it. A rack squeezed tightly between a dishwasher and wall may fit on paper but be difficult to maintain. Include removal space when planning the sink area.
Choose a cleaning interval suited to the instructions and visible condition. A complicated schedule is less helpful than noticing food, pooled water or residue and addressing it before it becomes a larger job. Easy access makes that routine more likely to happen.
Common questions
Can I put every removable part in the dishwasher?
No. Removable and dishwasher-safe are separate properties.
Is rust or peeling always removable dirt?
No. It may indicate damaged material or coating. Check with the maker before continued use.
Sources & scope
The linked guidance supports product and care facts; the layouts and worked examples are our practical suggestions. Match the exact item and current instructions. We have not performed durability or cleaning tests on these products.