Research editor: Nicholas Bauer, Founder & Research Editor · Research checked October 6, 2026
The quick answer
Store cleaned dishwashing tools in a suitable open arrangement that lets water leave the tool and can itself be cleaned. Empty collected water rather than leaving tools sitting in it. Avoid squeezing every brush and sponge into one wet container.
Separate drying from storage
A drawer can house a dry spare brush. It is not the next destination for a wet tool when moisture will be trapped. Decide where used tools dry before choosing where replacement supplies belong.
Consider the whole route: care for the tool as instructed, place it securely, deal with drips and clean its holder. A caddy does not remove those steps.
Choose a water-handling design
| Design | Question |
|---|---|
| Open holder over the basin | Does it stay secure without blocking washing? |
| Countertop reservoir | Can you remove and empty the collected water? |
| Cloth rail | Can fabric hang without overlapping wet items? |
| Closed container | Is it reserved for clean, dry spares? |
Look beyond a tidy exterior
Joseph Joseph’s cited Caddy includes a cloth rail, sponge area and concealed reservoir, and separates for cleaning. Hidden water still needs attention. Check access to the reservoir instead of judging only the appearance of the assembled holder.
Reduce overlapping tools
Keep the everyday dish tool and any genuinely needed narrow brush accessible. Store replacements away from the wet zone. Two selected tools can have better drying space than five stacked together.
In a shared kitchen, identify which tool is for dishes and which belongs to another cleaning task. Separate positions are easier to interpret than nearly identical sponges in the same cup.
Rehearse normal use
- Place the holder in its proposed position.
- Move faucet handles through their normal range.
- Try setting down a large clean pan beside it.
- Remove the tray or reservoir.
- Check the intended drip path.
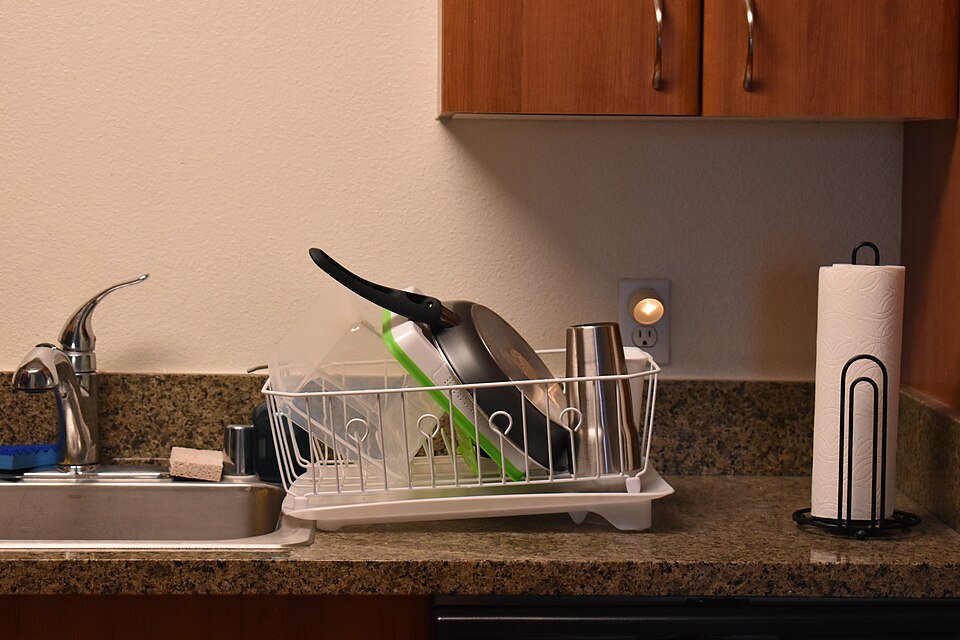
A holder behind the faucet can look unobtrusive while being difficult to remove. Test access with the drying rack occupied, not only on an empty counter.
Make maintenance visible
Inspect the holder when resetting the sink. Address accumulated water and residue using the care instructions. If a hidden tray is repeatedly overlooked, choose a more visible arrangement or link the task to an existing cleanup habit.
Drying is only one part of care. It does not replace required cleaning or replacement of worn tools. Keep the maker’s instructions available when deciding how to maintain each component.
Common questions
Does a draining holder clean the tools?
No. Tools and holder need their own care routines.
Can wet tools go straight in a drawer?
Complete drying first; reserve closed storage for clean, dry items.
Sources & scope
The linked guidance supports product and care facts; the layouts and worked examples are our practical suggestions. Match the exact item and current instructions. We have not performed durability or cleaning tests on these products.