Research editor: Nicholas Bauer, Founder & Research Editor · Updated October 16, 2026
The quick answer
Put a reusable straw in the dishwasher only if its maker permits it and provides a suitable placement. A dishwasher-safe straw may still need interior brushing. YETI’s Rambler straw-cap guidance, for example, includes a brush that reaches the straw’s internal surfaces.
Can glass straws go in the dishwasher?
Some can; check the brand’s instructions. Hummingbird explicitly permits dishwasher cleaning for its glass straws and recommends its cleaning brush when fruit residue remains inside. This is a named manufacturer example, not permission for every unmarked glass straw or decorative attachment.
Washability and secure placement are separate checks. Follow your appliance’s instructions for small glass items so the straw cannot fall through the basket or strike other dishes. If your rack cannot hold it securely, use the approved handwashing method. Inspect glass for damage before reuse; a dishwasher-safe claim does not make a chipped straw usable.
Clear glass can make remaining residue easier to notice, but a visibly clear channel is not proof of sanitation. Use a brush that fits the channel and the cleaning method specified for the straw.
Manufacturer source checked October 16, 2026: Hummingbird glass-straw cleaning FAQ.
Two straw caps with different disassembly rules
Swipe or scroll sideways to see every column on a small screen.
| Named design | What separates | Machine-washing and brush guidance |
|---|---|---|
| YETI Rambler Bottle Straw Cap | Remove the straw and circular cap gasket; leave the small pressure-valve gasket in place. | YETI places the cap on the top rack with its mouthpiece open, and the straw and circular gasket in the utensil compartment. Its deeper-cleaning routine includes brushing the full straw interior. |
| Hydro Flask Flex Straw Cap with red seal | Open the nozzle, detach the straw and pull the red seal’s tab as shown in the brand guide. | The named pieces are top-rack dishwasher-safe. Dry fully before reinstalling the seal and straw; use the appropriate straw/detail brush for interior passages. |
Sources: YETI Rambler cap instructions and Hydro Flask Flex Straw Cap guide.
The large removable seal and a small pressure valve are not interchangeable parts. Do not pull out every rubber piece because another cap’s instructions show a removable insert. For lid-specific details and drying, continue to bottle lids, valves and gaskets.
The inside is the main cleaning challenge
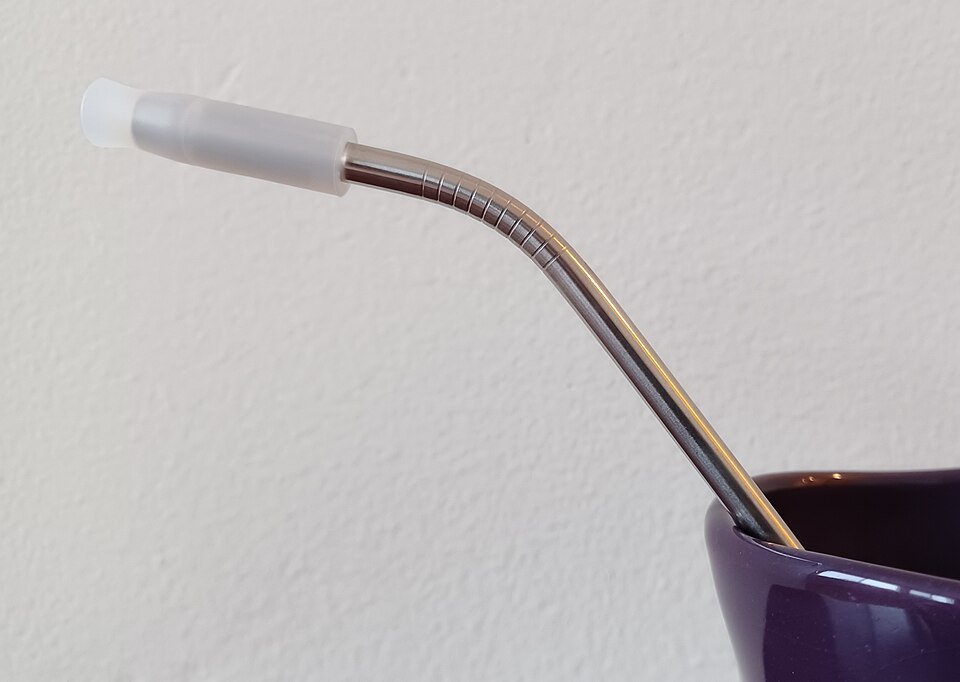
A straw’s outside is easy to see. Its narrow interior, bend or valve may not be. OXO’s water-bottle cleaning guidance recommends a straw brush for internal passages and a small detail cleaner for lid crevices. Choose tools that fit the opening rather than forcing an oversized brush through it.
A plain metal straw, a flexible silicone straw and a drinking assembly with a valve are different designs. Do not remove a valve or split a seam unless the maker says that part is intended to come apart.
Map the route your drink takes
- Identify the removable straw and any separate mouthpiece.
- Look up the permitted cleaning method for each component.
- Check whether the brush can reach the full interior without damaging it.
- Rinse and dry the parts as directed before reassembly or storage.
For a tumbler used for thick drinks, the important question is whether the cleaning method reaches the residue left inside. A clean-looking exterior does not answer that question.
What can go wrong with the setup?
| Situation | Adjustment to consider |
|---|---|
| Straw slips through the cutlery basket | Use only a secure placement or accessory allowed by the appliance and straw instructions. |
| Brush stops before a bend | Find a suitable brush or the maker’s alternate method; do not force it. |
| Residue remains in a valve | Use the specific valve-cleaning instructions, not a generic straw routine. |
| The straw is cracked or damaged | Replace the affected part with the correct one. |
Drying is easier when the parts have a place
Set aside a small clean drying area so the straw does not disappear under plates or return wet to a closed case. If you carry a reusable straw to work, plan where it will be washed and dried before packing it again.
Keep spare parts identifiable in a shared kitchen. Similar lengths do not prove that a replacement straw belongs to a particular bottle lid or valve system.
Buying fewer, more usable pieces
Before buying a multipack, consider the brush, storage case and compatibility with the cups you own. An inexpensive set can be inconvenient if the straws are too long for the drawer or their bends make cleaning difficult.
For young children or anyone with special drinking needs, use products and care instructions intended for that purpose. Do not improvise a drinking valve from unrelated accessories merely because the pieces can be pushed together.
Plan the rest of the load
Use our plate-size and loading guide for the machine-washable items. If you are choosing an appliance, compare the researched countertop dishwasher options after separating out anything that needs handwashing.
Common questions
Does dishwasher-safe mean no brushing is needed?
Not necessarily. YETI includes interior brushing in its straw-cap care guidance.
Can every small valve be removed for cleaning?
No. Follow the exact design’s instructions; some valves must remain installed.
Sources & scope
Manufacturer guidance informs the care rules; the kitchen-planning examples are our practical suggestions. Match the exact item and current instructions. We have not performed durability or cleaning tests on these products.