Research editor: Nicholas Bauer, Founder & Research Editor · Research checked October 6, 2026
The quick answer
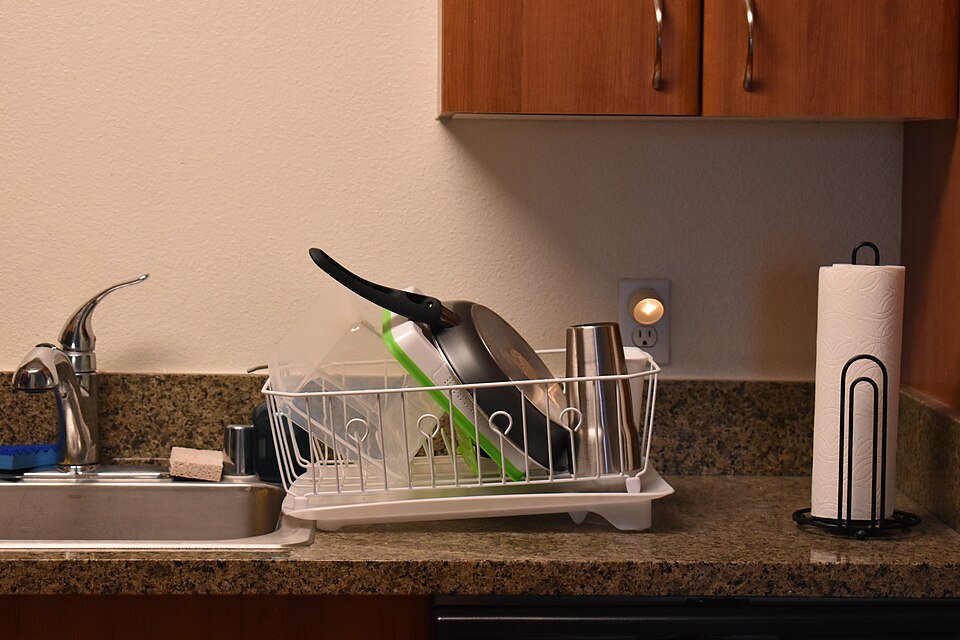
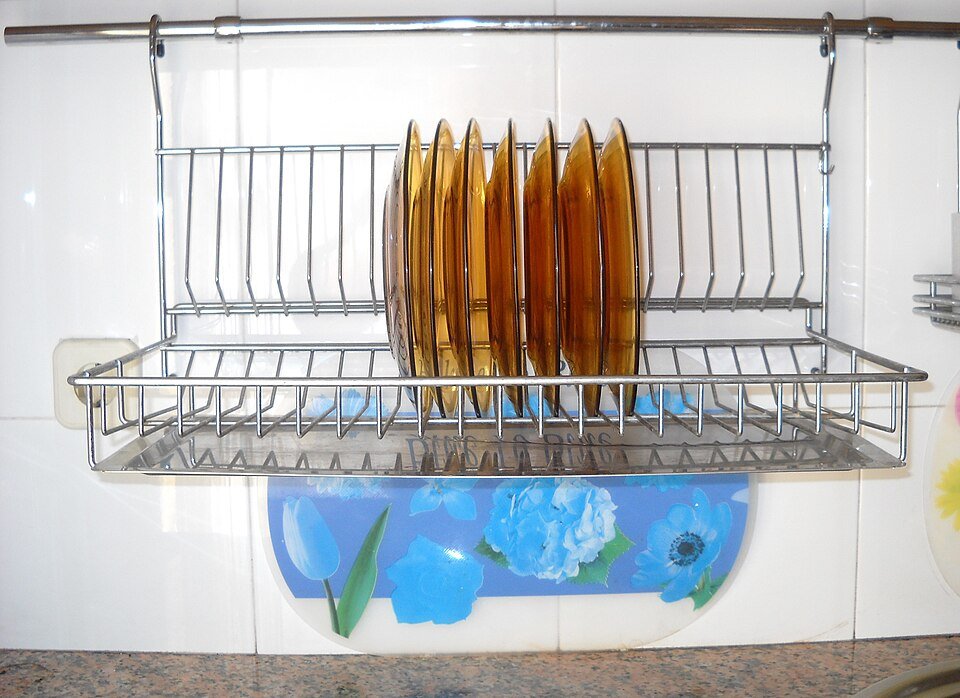
You can dry dishes without leaving a rack out permanently by using a suitable temporary mat, foldaway rack or clean towel arrangement. Keep items stable and separated, then put them away and dry the supporting surface. The temporary setup still needs a cleanup plan.
Pick the method around your handwash pile
A couple of mugs and a saucepan are different from a full set of plates. Flat surfaces can suit some bulky items, while plates may need upright support. Do not build a leaning stack just to avoid the appearance of a rack.
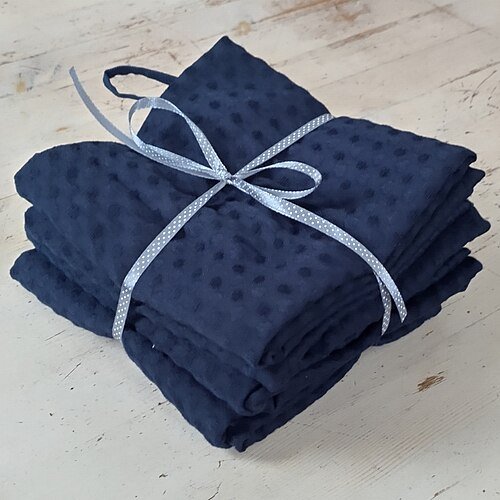
The American Cleaning Institute allows air drying or drying with a clean towel. It also advises changing the towel when damp. A cloth used to wipe a dirty counter is not the clean drying towel for the next plate.
Three temporary options
| Option | Useful when | Plan for |
|---|---|---|
| Clean towel on a suitable surface | A small, stable load needs a short-term spot. | Replacing the damp towel and drying the counter. |
| Purpose-made drying mat | You want a reusable defined area. | The mat’s care method and drying location. |
| Foldaway or roll-up rack | Items need more support or you can use part of the sink. | Fit, drainage and storage of the dry rack. |
Do not confuse hidden with finished
Moving damp dishes into a cabinet clears the counter visually without completing drying. Likewise, folding a wet mat into a drawer moves the moisture rather than solving the task. Reserve a place for the accessory to dry after the dishes are put away.
If the only storage slot is behind an appliance, check that you can reach it without dragging cords or hoses. A setup that is awkward to put away tends to become permanent anyway.
Try a modest evening load
- Clear and clean the chosen surface.
- Set out only a stable batch that fits without nesting.
- Dry or allow the items to dry according to their care needs.
- Put them away before starting an overflow pile.
- Clean and dry the mat, towel area or rack as required.
For example, washing a large bowl first can occupy the entire temporary area. You might instead finish a small batch of cups, put those away, then handle the bowl. Sequence can solve a space problem without buying another accessory.
Keep special-care items separate
Wood, seasoned cookware and delicate crystal have their own drying requirements. Use the relevant material guide rather than applying the same upside-down arrangement to everything. A temporary method should still protect fragile rims and provide a secure position.
If daily cleanup repeatedly overflows, a small dedicated rack may be more convenient than recreating a complicated temporary setup. Choose the option that saves effort in your real routine, not the one that produces the emptiest photograph.
Common questions
Can I use the same towel for counters and clean dishes?
Use a clean drying towel for dishes; do not transfer residue from a dirty cleaning cloth.
Should I roll up the mat as soon as the dishes are gone?
Follow its care instructions and let it dry before closed storage.
Sources & scope
The linked guidance supports product and care facts; the layouts and worked examples are our practical suggestions. Match the exact item and current instructions. We have not performed durability or cleaning tests on these products.