Research editor: Nicholas Bauer, Founder & Research Editor · Research checked October 6, 2026
The quick answer
Separate the permitted removable parts after washing and support them so water can escape and air can reach the openings. Complete drying before closing the bottle for storage. A dry exterior does not prove that the interior or lid recesses are dry.
Locate hidden wet areas
Check the bottle shoulder, lid threads, straw channel and any removable seal groove. Follow the maker’s disassembly directions; a valve that looks removable may not be designed to come out.
OXO’s bottle-cleaning guidance includes air-drying after washing. Use the actual condition of the parts as the endpoint rather than promising that every shape dries in a fixed number of hours.
Give each part a place
| Part | Drying question |
|---|---|
| Bottle body | Can it drain securely without sealing its mouth against a flat surface? |
| Lid | Are recesses exposed instead of holding a puddle? |
| Removable seal | Can it dry without being lost or stretched? |
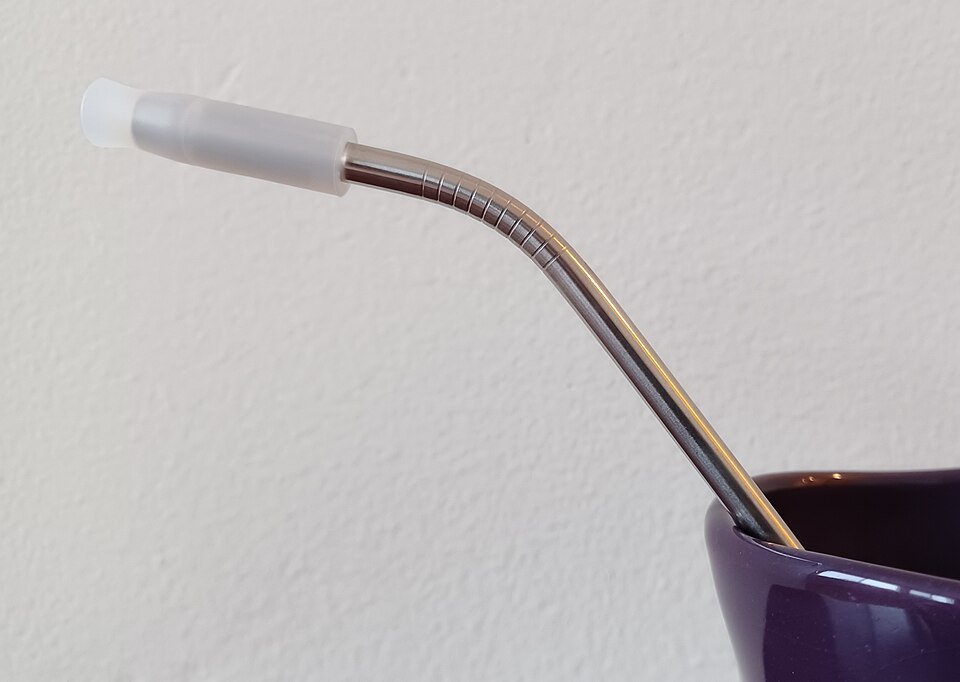
| Straw | Is it separate from the closed bottle? |
Compare a rack with your existing space
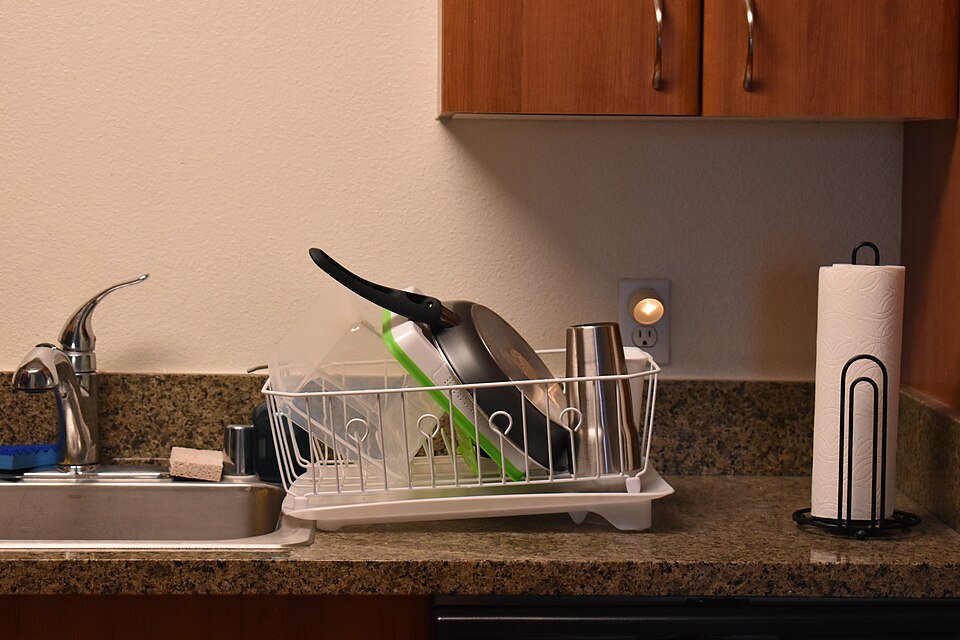
OXO’s aluminum-frame bottle rack provides places for four bottles or travel mugs, lids and straws. Raised edges help retain small parts. Its cited dishwasher-safe marking concerns the drainboard; check the remaining components separately.
Those features are useful comparison points, not a reason everyone needs a special rack. One everyday bottle may fit an existing suitable drying area. Several bottles with separate caps create a different layout problem.
Measure the loaded arrangement
- Count bottles washed together, not every bottle you own.
- Check the tallest bottle beneath shelves.
- Leave room to lift items without hitting the faucet.
- Allow access to clean the drainboard.
- Choose where the empty rack stays between uses.
In a two-person example, two bodies plus two lids occupy more usable area than the closed bottles. Lay out the clean parts before buying a rack. A product’s bottle count does not describe every shape it can accommodate.
Finish before storing
Check accessible recesses and the interior before reassembly. If water remains, adjust the supported position according to the product design. Keep damp components out of closed storage.
If an odor remains after correct cleaning and drying, inspect accessible lid parts and consult the maker. More time upside down cannot remove residue that still needs washing.
Common questions
Can I close the bottle while it dries?
Complete the approved drying process before closed storage; the lid can trap moisture.
Is every part of a bottle rack dishwasher-safe?
Check each component. A safe drainboard does not establish permission for the whole rack.
Sources & scope
The linked guidance supports product and care facts; the layouts and worked examples are our practical suggestions. Match the exact item and current instructions. We have not performed durability or cleaning tests on these products.