Research editor: Nicholas Bauer, Founder & Research Editor · Research checked October 6, 2026
The quick answer
Identify the exact lid and remove only the parts its instructions identify as removable. Clean accessible threads, channels and seal grooves with suitable tools, rinse as directed and dry before reassembly. Do not force a valve apart.
Find the lid model
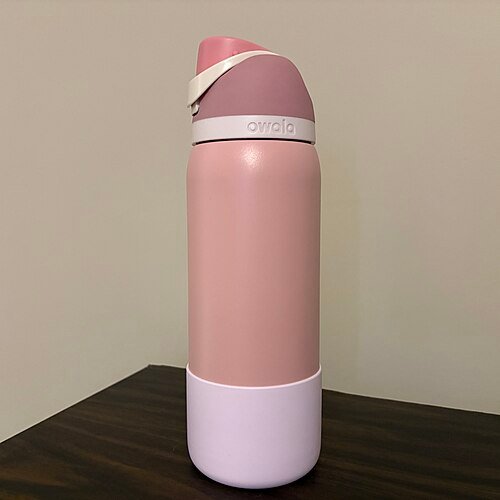
Two bottles with the same body can have different lids. A screw cap, straw lid and push-button mechanism may need different cleaning methods. Look up the lid rather than relying only on the brand printed on the bottle.
Photograph the permitted removable parts and their orientation before the first disassembly. Keep them in a small clean tray so a gasket does not disappear down the drain.
Match tools to openings
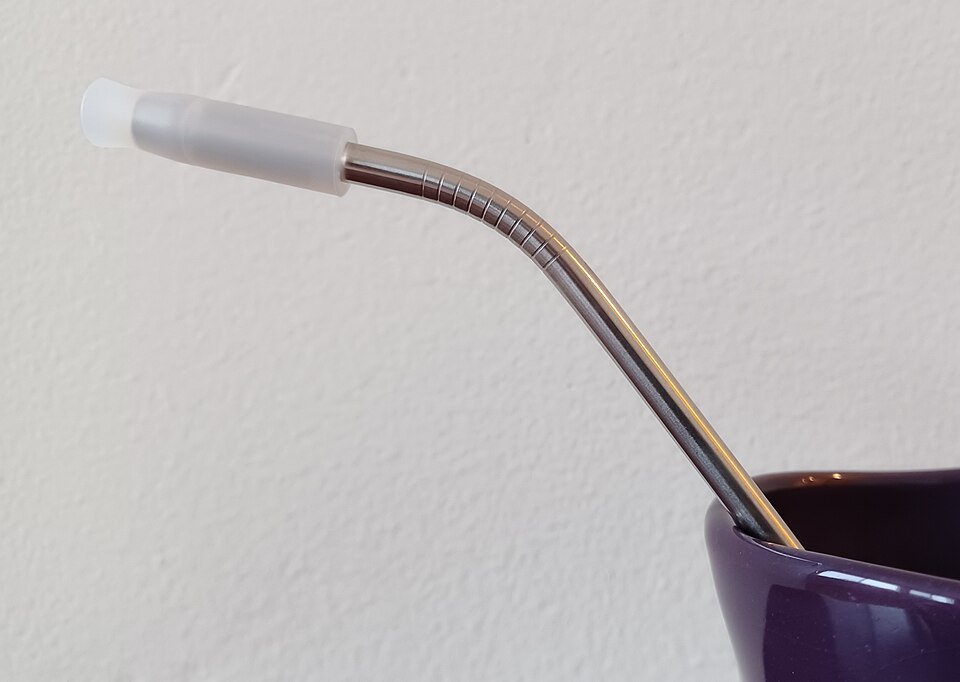
OXO’s bottle-cleaning guide distinguishes a straw brush from a detail cleaner for cap threads and crevices. Choose a tool that reaches without forcing or scratching. A large dish brush may clean the outside while missing the drinking channel.
| Area | What to verify |
|---|---|
| Threads and rim | Residue in accessible grooves. |
| Gasket | Removal permission, condition and orientation. |
| Straw channel | Whether the specified brush reaches through it. |
| Button or valve | The exact cleaning method; no forced disassembly. |
Use a controlled sequence
- Read the lid’s washing and disassembly instructions.
- Separate approved parts over a clear surface.
- Use the permitted soap, water temperature and tools.
- Rinse as directed and dry the parts.
- Reassemble in the correct orientation.
- Check seating and function before putting the bottle in a bag.
If washing several bottles, keep each lid’s parts together. Similar-looking gaskets can belong to different models. Compatibility should come from the manufacturer, not a visual guess.
When smell or leakage remains
Recheck residue, assembly and visible damage. Follow the maker’s deeper-cleaning method rather than combining household cleaners. Ask about replacement parts when a seal is stretched, torn or no longer fits correctly.
Order by exact lid model or part number where available. A gasket that sits in the groove may still fail to provide the intended seal.
Make the next cleanup easier
Keep the appropriate small brush accessible and reserve a drying spot for lid parts. Save the care instructions with the model information. If maintenance is consistently awkward, consider that design tradeoff before buying another bottle.
This component guide does not replace separate sanitation instructions for infant feeding equipment or medical use.
Common questions
Should every rubber piece come out?
No. Remove only parts identified as removable in the exact instructions.
Can I substitute a similar gasket?
Use a compatible replacement for the exact lid, not one chosen by appearance.
Sources & scope
The linked guidance supports product and care facts; the layouts and worked examples are our practical suggestions. Match the exact item and current instructions. We have not performed durability or cleaning tests on these products.